15/02/2019
In this lab session, we have had lots of progress because the projector and sand we ordered online has arrived and we finally can fill the box with sand and test if it is anything we plan it to be.
The first thing we did with the new projector is to turn it on and look at the differences compared to the one we are using at the moment. This new projector is capable of projecting images in a shorter distance than a traditional projector.


In comparison, the new projector can project an image in a much shorter distance and has higher resolution .it is also capable of keystoning, which allows the projector, that is not positioned perpendicular to the horizontal centerline of the screen to skew the output image hence correcting the shape to rectangular.Keystone provides us with more flexibility of where we can position the short throw projector.

we connected the new projector with the school computer, and the image it presents is clearly more colourful and accurate than it was before with the old projector.


Now we have the new projector in our hands, we have to consider how we going to mount the projector and Xbox Kinect above the sandbox. The stand that holds the new projector will need to be made of strong material in regards to its weight. We sketch out ideas of how the stand would look like.


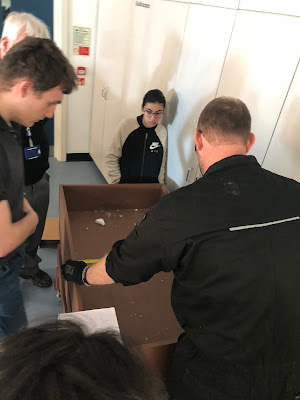
We also had the mechanic come in to take measurements of the box and advise us for the position of the stand.


At the meantime, we have poured in the sand and get it ready for testing.

Setting up the right angle with the projector for testing with real sand.At this point,we are still using the old projector because the new one doesnt mount on to the tripod so we are forced to keep using it at the moment.


The stimulation is successful, it is working as expected even though we only use the old projector.
There are areas on the sand that Kinect can't detect which needs to be corrected. However, this can be easily fixed when our stand comes next week.
It is also quite slow compared to other similar sandboxes projects on the internet that we saw. We think it is because the school computer is barely outputting enough framerates as it is old so it is underperforming.
Moreover, We decided to continue to use the Xbox Kinect instead of the Intel creative depth camera. It is because not only it needs a very specific driver which we are not allowed to install on a university computer, but it is harder to program it to work in C++ which is what we are using. To make things easier and smoother, hence we ditched the depth camera and use the Xbox Kinect.
Comments
Post a Comment